
In this guide, we’ll walk you through the installation and basic usage of tcpdump, a powerful packet analyzer used to capture network traffic. tcpdump is essential for network administrators and security analysts, allowing you to troubleshoot and monitor network traffic in real-time. Follow the steps below to install and start using tcpdump on a Linux system.
Before installing any new software, it’s always a good idea to update your package list to ensure you’re getting the latest version available.
Open a terminal and run:

For Debian/Ubuntu and their derivatives (like Linux Mint, Pop!_OS), run the following command to install tcpdump:

After installation, check that tcpdump is correctly installed by running the following command:

This should output the version of tcpdump installed on your system.

You need root privileges to capture packets on network interfaces. Use sudo to run tcpdump.
To start capturing packets on the default network interface, run:

This will start capturing and displaying packets in real-time. Press Ctrl + C to stop the capture.
To list all the available network interfaces on your system, use the following command:


This command will display a list of network interfaces that you can use for packet capturing.
If you're using tcpdump for log analysis, you can check this Network Log Analysis course
To capture packets on a specific network interface (for example, eth0), run:

This will start capturing traffic on the specified interface.
If you want to save the captured packets to a file for later analysis, use the following command:


This saves the capture to a file named capture.pcap. You can open this file later with tcpdump or a tool like Wireshark for analysis:


By following these steps, you can install and start using tcpdump to monitor and capture network traffic on your Linux system.
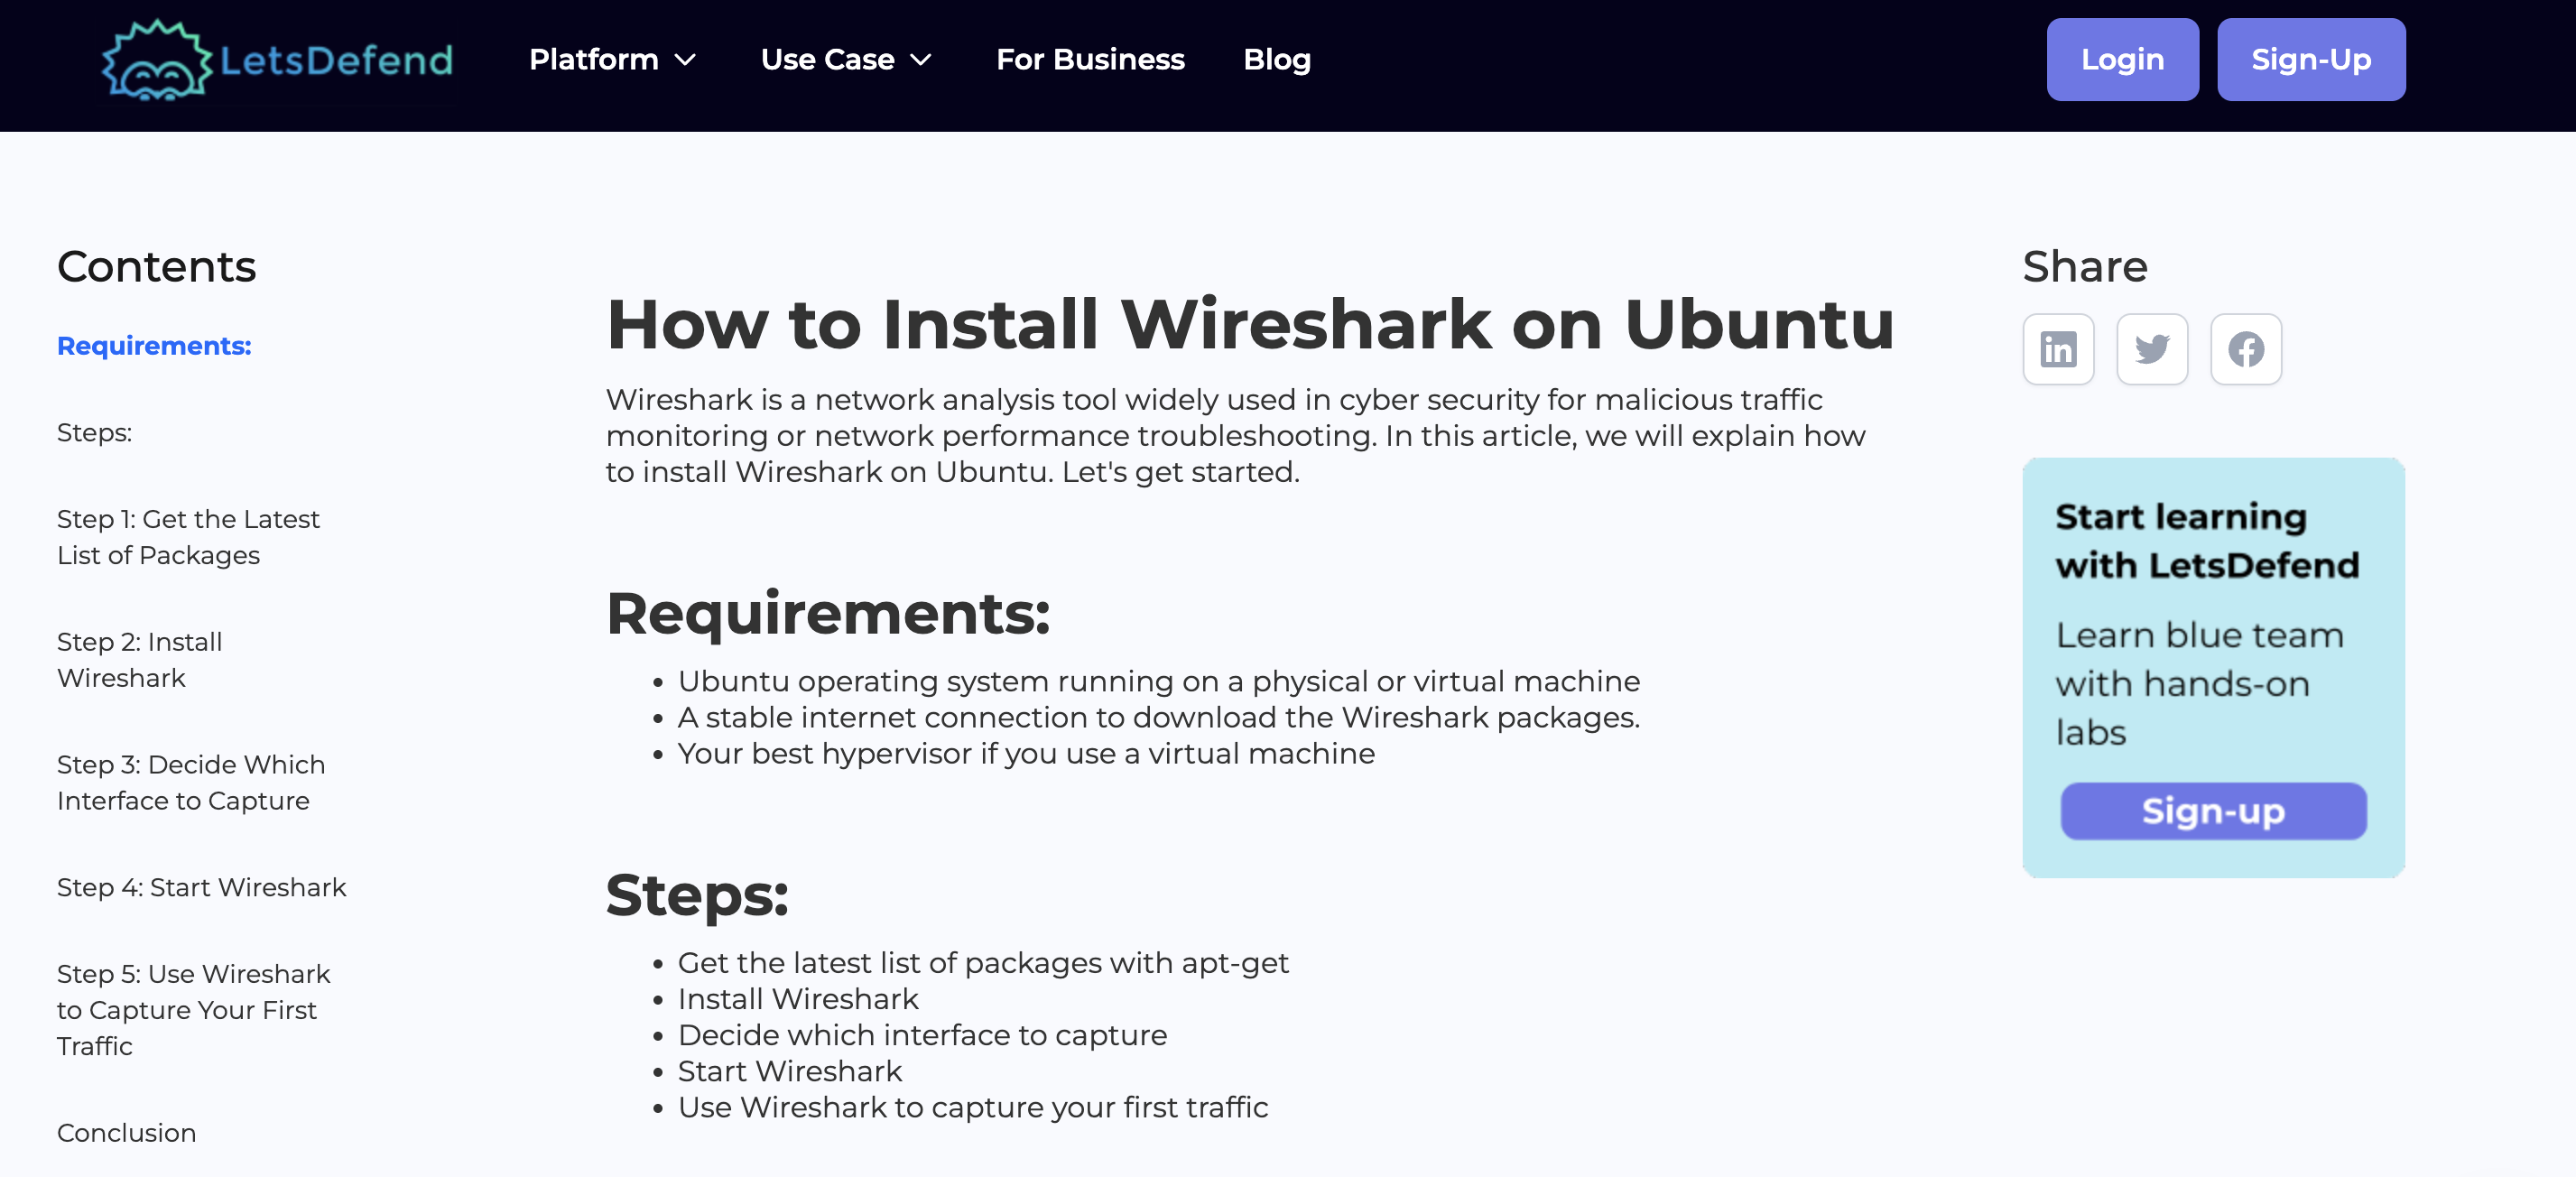
Alternatively, you can install Wireshark on your Linux device for network analysis.


.jpg)
.png)